


Understanding the Importance of Healthy Sod in Your Lawn
As a lawn enthusiast and homeowner, maintaining a lush, green lawn is something I take great pride in. Over the years, I’ve realized that a significant part of achieving a beautiful yard is understanding when and how to replace the sod. Sod serves as the foundation of your lawn, providing essential nutrients, structure, and aesthetic appeal. However, just like anything else, it doesn’t last forever, and knowing when to replace it is key to keeping your lawn looking its best.
Signs That It’s Time to Replace Sod
It’s not always obvious when sod needs replacing, but there are several telltale signs that can help you determine if it’s time for a change. Let me walk you through the most common signs I've come across:
1. Patchy and Thinning Grass
One of the most common signs that your sod needs replacing is patchy or thinning grass. Over time, grass can become weak due to poor soil conditions, pests, or lack of proper care. These issues often lead to bald patches that are difficult to repair. If reseeding or fertilizing doesn’t improve the condition of these areas, it's a clear indication that replacing the sod could be your best option.
2. Persistent Weed Growth
Weeds are a constant battle for lawn care enthusiasts like myself. However, when weeds take over and spread rapidly, it can be a sign that the sod is no longer providing the right conditions for healthy grass growth. If you notice that weeds keep coming back, even after repeated treatments, it might be a sign that your sod has lost its vitality and needs replacement.
3. Poor Drainage and Compacted Soil
If your lawn is experiencing drainage problems or you notice areas where water tends to pool, it may be time to replace the sod. This could indicate that the soil underneath the grass is compacted or has become too dense. Over time, compacted soil restricts the roots from absorbing nutrients and oxygen, leading to unhealthy grass. Replacing the sod along with improving soil aeration can resolve these issues.
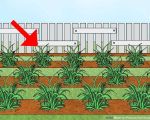
4. Soil Erosion
Soil erosion is another indicator that your sod has seen better days. If the sod is no longer holding the soil in place, it could be due to root decay or poor grass health. In some cases, replacing the sod can help restore stability to the lawn and prevent further erosion.
5. Heavy Insect Infestation
While some insects are a normal part of any lawn ecosystem, an infestation of harmful pests can devastate your sod. If you find that insect control methods aren’t working and the grass continues to deteriorate, it might be time to replace the sod and address the underlying insect problem.
When is the Best Time to Replace Sod?
Timing is critical when it comes to sod replacement. I’ve found that the best time to replace sod is during the cooler months, specifically in early fall or spring. These seasons provide optimal conditions for sod to establish roots and grow without the stress of extreme heat or cold. Replacing sod during these times also helps minimize the risk of diseases and pests that tend to thrive in hotter, more humid conditions.
Fall Sod Replacement
Fall is a fantastic time to replace your sod because the cooler temperatures allow the grass to establish strong roots before the winter cold sets in. Additionally, the soil retains moisture better in the fall, which helps the new sod settle in and thrive. If you’re looking for a seamless sod replacement process, fall is definitely the season to aim for.
Spring Sod Replacement
Spring is another great option, especially if you missed the fall window. During spring, the weather is warming up, and the grass begins to actively grow again. The soil is typically soft and moist, making it easier for the sod to root. However, be mindful of late frosts, as they can delay the sod’s establishment process.
How to Replace Sod in Your Lawn
Replacing sod is a multi-step process that requires attention to detail. Over the years, I’ve learned that following the correct steps can make all the difference. Here’s how I approach sod replacement:
1. Remove Old Sod
The first step is to remove the old sod. This can be done manually with a shovel or using a sod cutter if you have a larger area to cover. It’s important to remove all the old grass and weeds to give your new sod the best chance for success. If the soil beneath the sod is compacted, consider aerating it before laying down the new sod.
2. Prepare the Soil
Preparing the soil is crucial for a successful sod installation. After removing the old sod, I like to loosen the soil using a rake or a garden tiller. If necessary, amend the soil with compost or soil conditioner to improve its structure and fertility. This step ensures that the new sod has the right environment to grow and thrive.
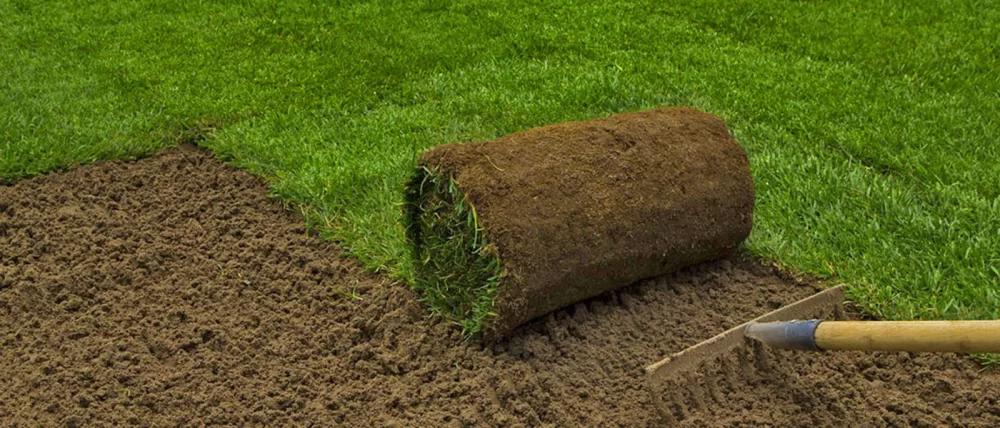
3. Lay Down the New Sod
Once the soil is prepared, it’s time to lay down the new sod. Start at one end of the area and work your way across, ensuring that each piece of sod is snugly fit against the next. Stagger the seams of the sod to create a brick-like pattern. Be sure to water the sod thoroughly after installation to help it settle into the soil.
4. Water and Maintain
After installing the new sod, watering is essential for the first few weeks. I water the sod daily, keeping the soil consistently moist but not soggy. Once the sod establishes its roots, I gradually reduce the watering frequency. Regular lawn care, including mowing, fertilizing, and pest control, will help maintain the health and beauty of your new sod.
Final Thoughts on Sod Replacement
Replacing sod in your lawn can seem like a daunting task, but with the right approach and timing, it can be a rewarding experience. If you notice signs that your sod is struggling, don’t hesitate to take action. With the proper care and attention, you can create a lush, green lawn that will be the envy of your neighborhood.